Desserts
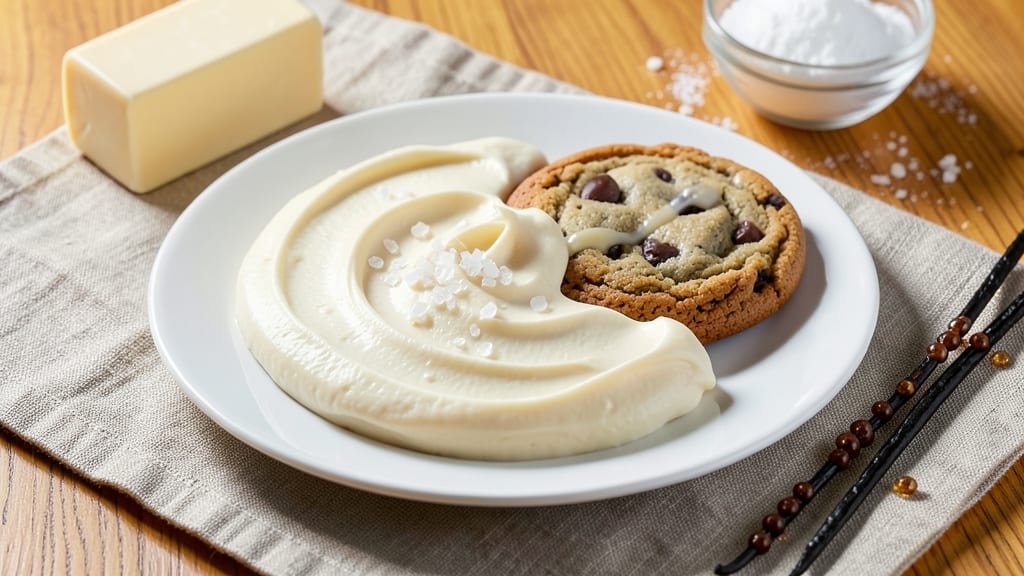
Betty Crocker's cookie frosting recipe delivers that creamy, dreamy vanilla buttercream we all grew up loving—smooth, spreadable, and perfect for decorating cookies or filling cupcakes with restaurant-quality results.
The secret lies in precise measurements and proper mixing techniques that create a frosting so light it melts on your tongue rather than weighs down your treats.
This foolproof recipe uses just five ingredients—butter, powdered sugar, milk, vanilla, and a pinch of salt—to create a frosting that's rich yet airy, with a texture that's neither too stiff nor too runny.
The key is beating the butter and sugar until completely smooth before adding the milk gradually, ensuring a velvety consistency that spreads beautifully. No stand mixer? A hand mixer works just as well.
What makes this frosting truly special is its versatility—use it as-is for classic vanilla cookies or mix in cocoa powder for chocolate buttercream. It keeps well in the fridge for up to five days, or you can store it in the freezer for months.
The flavor develops slightly over time, making it even more delicious when you're ready to decorate.
Perfect for holiday baking, cookie exchanges, or satisfying a sudden craving for homemade treats, this frosting is the game-changer that turns ordinary cookies into showstoppers. Let's get started on creating your own batch of this nostalgic, crowd-pleasing classic.
Ingredients for betty crocker cookie frosting
Five simple ingredients transform into velvety perfection—creamy, dreamy frosting that elevates cookies to restaurant-quality status.
| Ingredient | Amount | Notes |
|---|---|---|
| Unsalted Butter 🧈 | 1 cup | Cold, cubed for easier mixing |
| Powdered Sugar 🍚 | 3 cups | Sifted for smooth texture |
| Milk 🥛 | ¼ cup | Room temperature preferred |
| Pure Vanilla Extract 🍯 | 1 tbsp | High-quality for authentic flavor |
| Diamond Crystal Kosher Salt 🧂 | ¼ tsp | Fine grain for even distribution |
The butter is non-negotiable—European-style or high-fat unsalted gives the richest texture. Kirkland Signature or Plugrá are my go-tos for that melt-in-your-mouth quality. Keep it cold when measuring to prevent overmixing later. Powdered sugar matters too: Domino or C&H brands sift perfectly, but check for lumps. The milk should be room temperature—cold milk can cause the frosting to seize. For extra flavor depth, I sometimes add a splash of heavy cream instead.
No milk? Heavy cream or even vanilla almond milk works, though texture may vary slightly. Short on vanilla? Vanilla bean paste at half the amount gives intense flavor. The salt is crucial—skip it, and the frosting tastes flat. For chocolate variations, swap 1/2 cup powdered sugar for Dutch-process cocoa powder. Need it thicker? Add powdered sugar 1 tbsp at a time. Too thin? Gradually incorporate more cold butter. This frosting is endlessly adaptable once you master the base.
Store in an airtight container in the fridge for up to 5 days, or freeze for 3 months—it actually tastes better after resting! For piping, let it sit at room temperature for 10 minutes first. I portion mine into small jars so I always have ready-to-use frosting. The flavor intensifies overnight, making it perfect for last-minute decorating.
Why You'll Love This Recipe
- Three-Ingredient Magic: I swear by this combo—just softened butter, powdered sugar, and a splash of milk. No fancy gadgets, no measuring headaches, just three things you already own. Honestly, I’ve made it while chatting on the phone, and it still comes out smooth every time.
- Buttercream Bliss: That rich, velvety texture? Pure comfort. The butter keeps it luscious, the vanilla extract gives it soul, and just a pinch of salt—that’s the secret to making it taste like a bakery’s, not a box. It’s the kind of frosting that makes me want to eat it straight from the bowl.
- Party in a Bowl: Birthdays, potlucks, or just because—this frosting is the MVP. Slather it on store-bought cookies, cupcakes, or even brownies when you’re in a pinch. Between us, I’ve even used it to jazz up plain sugar cookies for my kid’s last-minute school project. (Yes, even on a Tuesday night.)
- No-Waste Winner: A little goes a long way, and what’s left? Perfect for tomorrow’s treats. The recipe scales effortlessly—double it for a crowd, halve it for a snack—and since it’s just pantry staples, it won’t break the bank. I’ve made this for years, and I’ve never regretted having extra on hand.
Instructions for Betty Crocker's cookie frosting recipe
Here's how to create that classic Betty Crocker buttercream—smooth, rich, and ready in minutes.
Prepare the Cold Butter
Cut the 1 cup unsalted butter into ½-inch cubes and place them in the freezer for 10 minutes to ensure they remain cold. Cold butter creates a stable emulsion that won't melt into a greasy mess when you add the powdered sugar. I like to use a sharp chef's knife for this—it gives you clean, even cubes that mix more easily.
Cold butter also prevents the frosting from becoming too soft, especially in warm kitchens. If you skip this step, you'll end up with a runny, unworkable frosting that won't hold its shape on cookies. Trust me, the extra 10 minutes now saves frustration later.
Cream the Butter and Sugar
In a large mixing bowl, combine the cold butter cubes and 3 cups powdered sugar. Using a hand mixer or stand mixer fitted with the paddle attachment, beat on medium speed for 2-3 minutes until the mixture looks like wet sand and the butter is completely incorporated. You'll see small butter clumps gradually disappear as they emulsify with the sugar.
This step is where the magic happens—the butter and sugar need to blend thoroughly to create a smooth, creamy texture. If you rush it, you'll end up with grainy frosting. I like to scrape down the sides of the bowl every 30 seconds to ensure everything gets mixed evenly.
Add Milk and Vanilla Extract Gradually
With the mixer running on low speed, slowly pour in the 0.25 cup milk and 1 tbsp pure vanilla extract. Add them simultaneously—this prevents the mixture from becoming too liquid all at once. After adding the milk, increase the speed to medium and beat for another 2-3 minutes until the frosting is light and fluffy.
Here's the thing—adding the milk too quickly can cause the frosting to curdle, while adding it too slowly might not incorporate it fully. You want a smooth, ribbon-like consistency where the frosting holds its shape but still spreads easily. If it's too thick, add 1 teaspoon milk at a time until it reaches your desired consistency.
Incorporate the Salt for Balance
Remove the mixing bowl from the stand mixer and use a rubber spatula to fold in the 0.25 tsp diamond crystal kosher salt. This step might seem unnecessary, but the salt enhances the vanilla flavor and balances the sweetness of the powdered sugar. Mix well to ensure even distribution—you don't want pockets of saltiness in your frosting.
Taste the frosting at this point. It should be sweet but not cloying, with a clean vanilla flavor. If it needs more sweetness, add 1 tablespoon powdered sugar at a time. If it's too sweet, you can't adjust it later—so aim for balance now. Once you're satisfied, transfer the frosting to a piping bag or airtight container for easy use.
Let It Rest Before Using
Allow the frosting to sit at room temperature for 10-15 minutes before piping or spreading. This resting period lets the flavors meld and the texture stabilize. Cold frosting can be too stiff, while warm frosting might spread too thin. You'll know it's ready when it's smooth, pliable, and holds its shape when piped.
Use the frosting immediately for the best results—it's at its peak texture and flavor right after mixing. If you need to store it, cover it tightly and refrigerate for up to 3 days. Bring it to room temperature before using again, and if it thickens, soften it with 1-2 teaspoons milk at a time until it reaches the perfect consistency.
Pro Tips For Making Betty Crocker Cookie Frosting
- SOFTEN BUTTER FIRST: Take the butter out of the fridge 30 minutes before mixing—this recipe demands it. Cold butter creates lumps in powdered sugar, and you’ll end up with a grainy, uneven frosting. Trust me, your spatula will thank you later.
- MEASURE POWDERED SUGAR RIGHT: Use a kitchen scale or the "spoon-and-level" method with powdered sugar—don’t scoop directly from the bag. Packed sugar throws off the ratio, making the frosting too stiff or clumpy. A light hand here keeps it smooth.
- ADD MILK SLOWLY: Drizzle the milk in one tablespoon at a time while mixing on low speed. Pouring it all at once risks overdoing it—you’ll end up with a runny mess that won’t hold its shape. Patience here makes all the difference.
- SALT LAST, LIGHTLY: Taste before adding the ¼ teaspoon of kosher salt—this frosting is already sweet enough. Too much salt turns it flat, and Diamond Crystal is stronger than table salt, so err on the side of caution. A pinch is plenty.
Dietary considerations for these flavors
Gluten-Free Adaptation
This frosting is naturally gluten-free since it contains no wheat-based ingredients. However, if you're using it to decorate gluten-free cookies, ensure your cookie dough itself is certified gluten-free. I recommend pairing this frosting with King Arthur gluten-free flour cookies or Schär brand treats.
The texture remains perfectly creamy, but always double-check labels on milk and vanilla extract for hidden gluten sources.
Dairy-Free Options
For a dairy-free version, replace the butter with Earth Balance vegan butter> (like the soy-free kind) and swap milk for unsweetened almond milk>. The texture will be slightly softer but still spreadable.
I've found that adding 1 tablespoon extra powdered sugar> helps stabilize the frosting. For richer flavor, use coconut milk> instead of almond milk—it adds a subtle sweetness that complements vanilla beautifully.
Lower Sugar Versions
To reduce sugar content, replace 1 cup powdered sugar> with ½ cup monk fruit sweetener> (like Lakanto) blended with ½ cup powdered sugar>. This keeps the frosting stable while cutting calories significantly.
For a more traditional approach, use Swerve confectioners' sweetener> at a 1:1 ratio—just be mindful that it can dry out slightly faster than sugar. The vanilla flavor remains vibrant, but the texture stays smooth with proper mixing.
Vegan-Friendly Twist
Create a fully vegan frosting by using Earth Balance vegan butter>, coconut milk>, and vanilla extract>. Add ½ teaspoon apple cider vinegar> to stabilize the mixture—it mimics the acidity that helps emulsify traditional buttercream.
The frosting will have a slightly denser texture but holds its shape perfectly. I like to add 1 teaspoon lemon juice> for brightness that cuts through the richness.
Nut-Free Considerations
This recipe is already nut-free, but if you're serving it to guests with nut allergies, verify that all ingredients—especially vanilla extract and milk—are processed in nut-free facilities. Some brands of vanilla extract contain trace amounts of nuts.
For extra caution, I recommend McCormick pure vanilla extract>, which is commonly certified nut-free. Always check labels when purchasing powdered sugar too, as cross-contamination can occur.
Allergen-Friendly Substitutions
For egg allergies, this frosting is already safe since it contains no eggs. If you need to avoid dairy entirely, use Oatly barista-style oat milk> instead of regular milk—it adds creaminess without dairy.
For soy allergies, opt for coconut-based vegan butter> like Miyoko's. The key is to maintain the same fat content for proper texture. Always test small batches first to ensure stability, as some plant-based milks can alter the frosting's consistency.
Nutrition facts
Frequently asked questions
Can I make this frosting without a mixer?
Use a sturdy whisk and your arm muscles for 5-7 minutes of vigorous stirring. Start with the butter and sugar, then gradually work in the milk. The key is patience—keep whisking until the mixture is completely smooth and light. For best results, chill the bowl between mixings to prevent overheating.
Why did my frosting turn grainy?
Graininess usually means the butter wasn't cold enough or wasn't mixed long enough with the powdered sugar. Start over with cold butter cubes and beat for 3-4 minutes until completely smooth before adding liquids. If you're short on time, pulse the butter and sugar in a food processor for 1 minute before mixing.
How do I adjust the consistency for piping?
For stiffer frosting (like for piping rosettes), add 1 tablespoon powdered sugar at a time. Too thin? Chill the bowl for 15 minutes or add 1 teaspoon cold butter. For a glossy finish before piping, brush the surface with a tiny bit of milk or vanilla extract. The frosting should hold its shape when piped but still spread smoothly.
Can I make this frosting ahead of time?
Yes! This frosting actually improves with time. Store it in an airtight container in the fridge for up to 5 days or freeze for 3 months. Bring it to room temperature before using—if it thickens, soften with 1 teaspoon milk at a time. The flavors meld beautifully overnight, making it even more delicious for last-minute decorating.
What's the secret to the perfect vanilla flavor?
Use pure vanilla extract (not imitation) and let it infuse for 10 minutes before mixing. For extra depth, add ½ teaspoon vanilla bean paste or a pinch of ground vanilla bean seeds. If you're using vanilla sugar, reduce the powdered sugar by 1 tablespoon—it adds subtle sweetness and flavor. Always use high-quality vanilla to avoid artificial aftertaste.